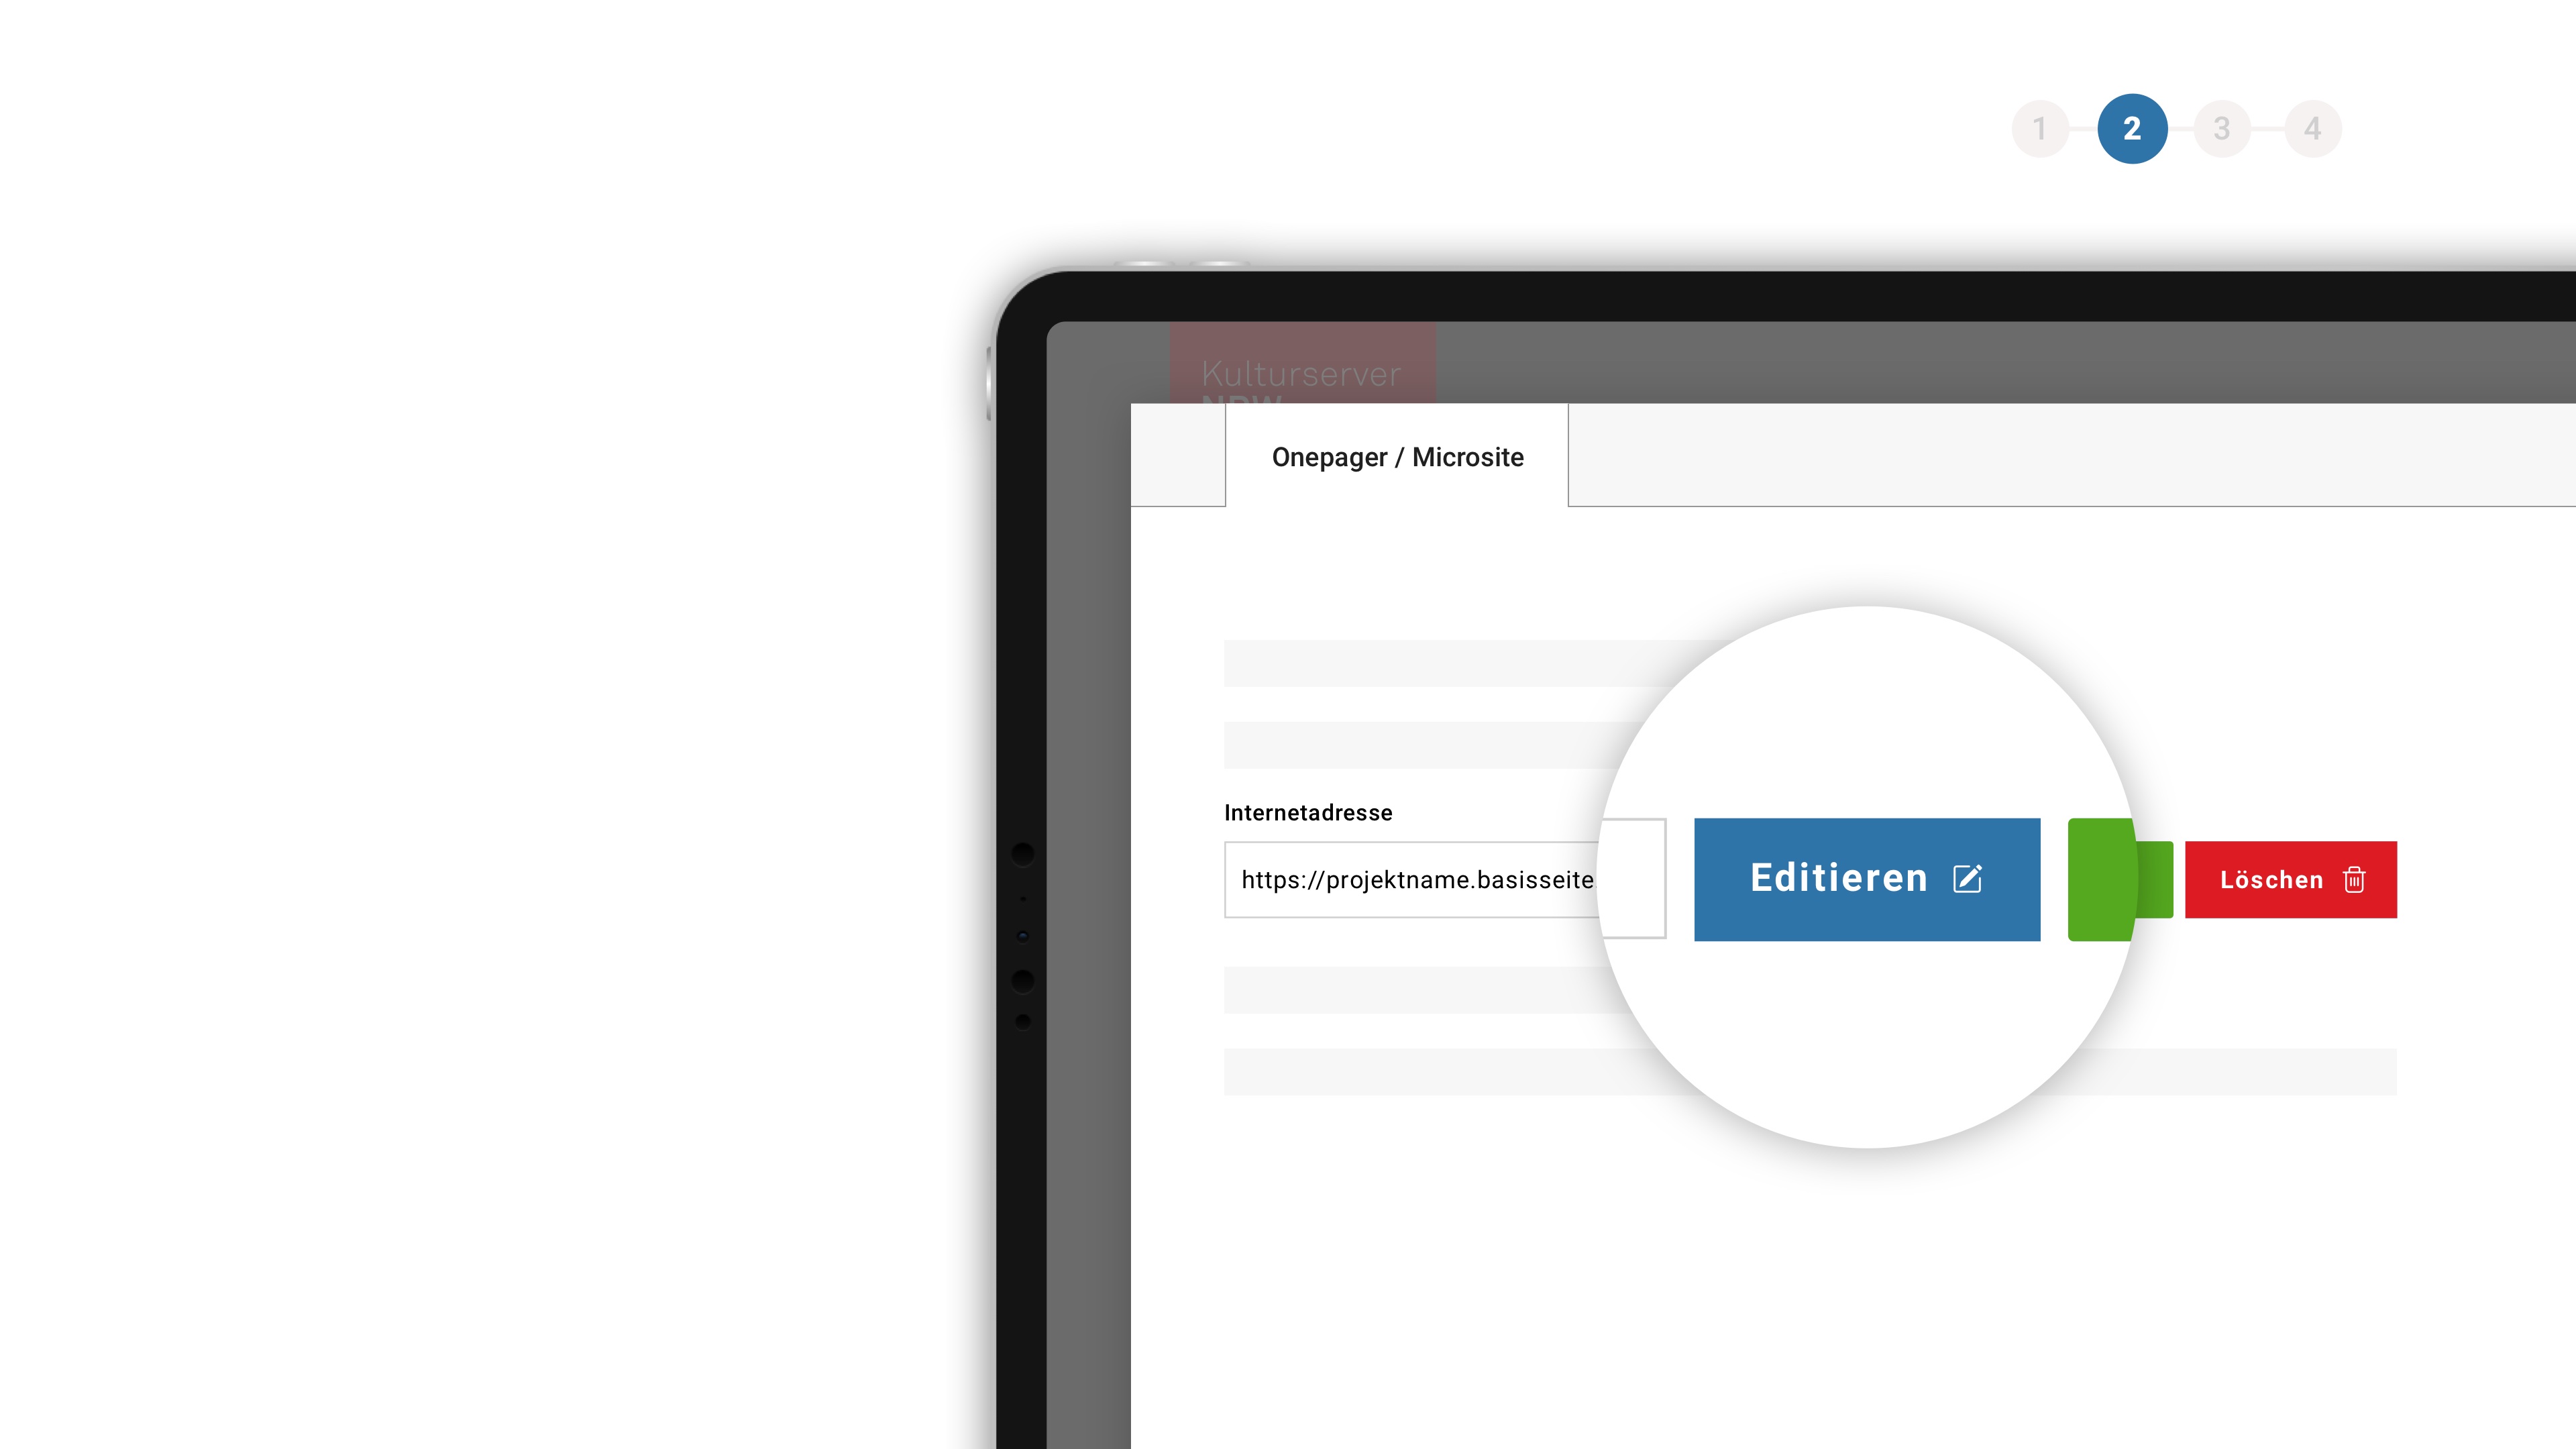
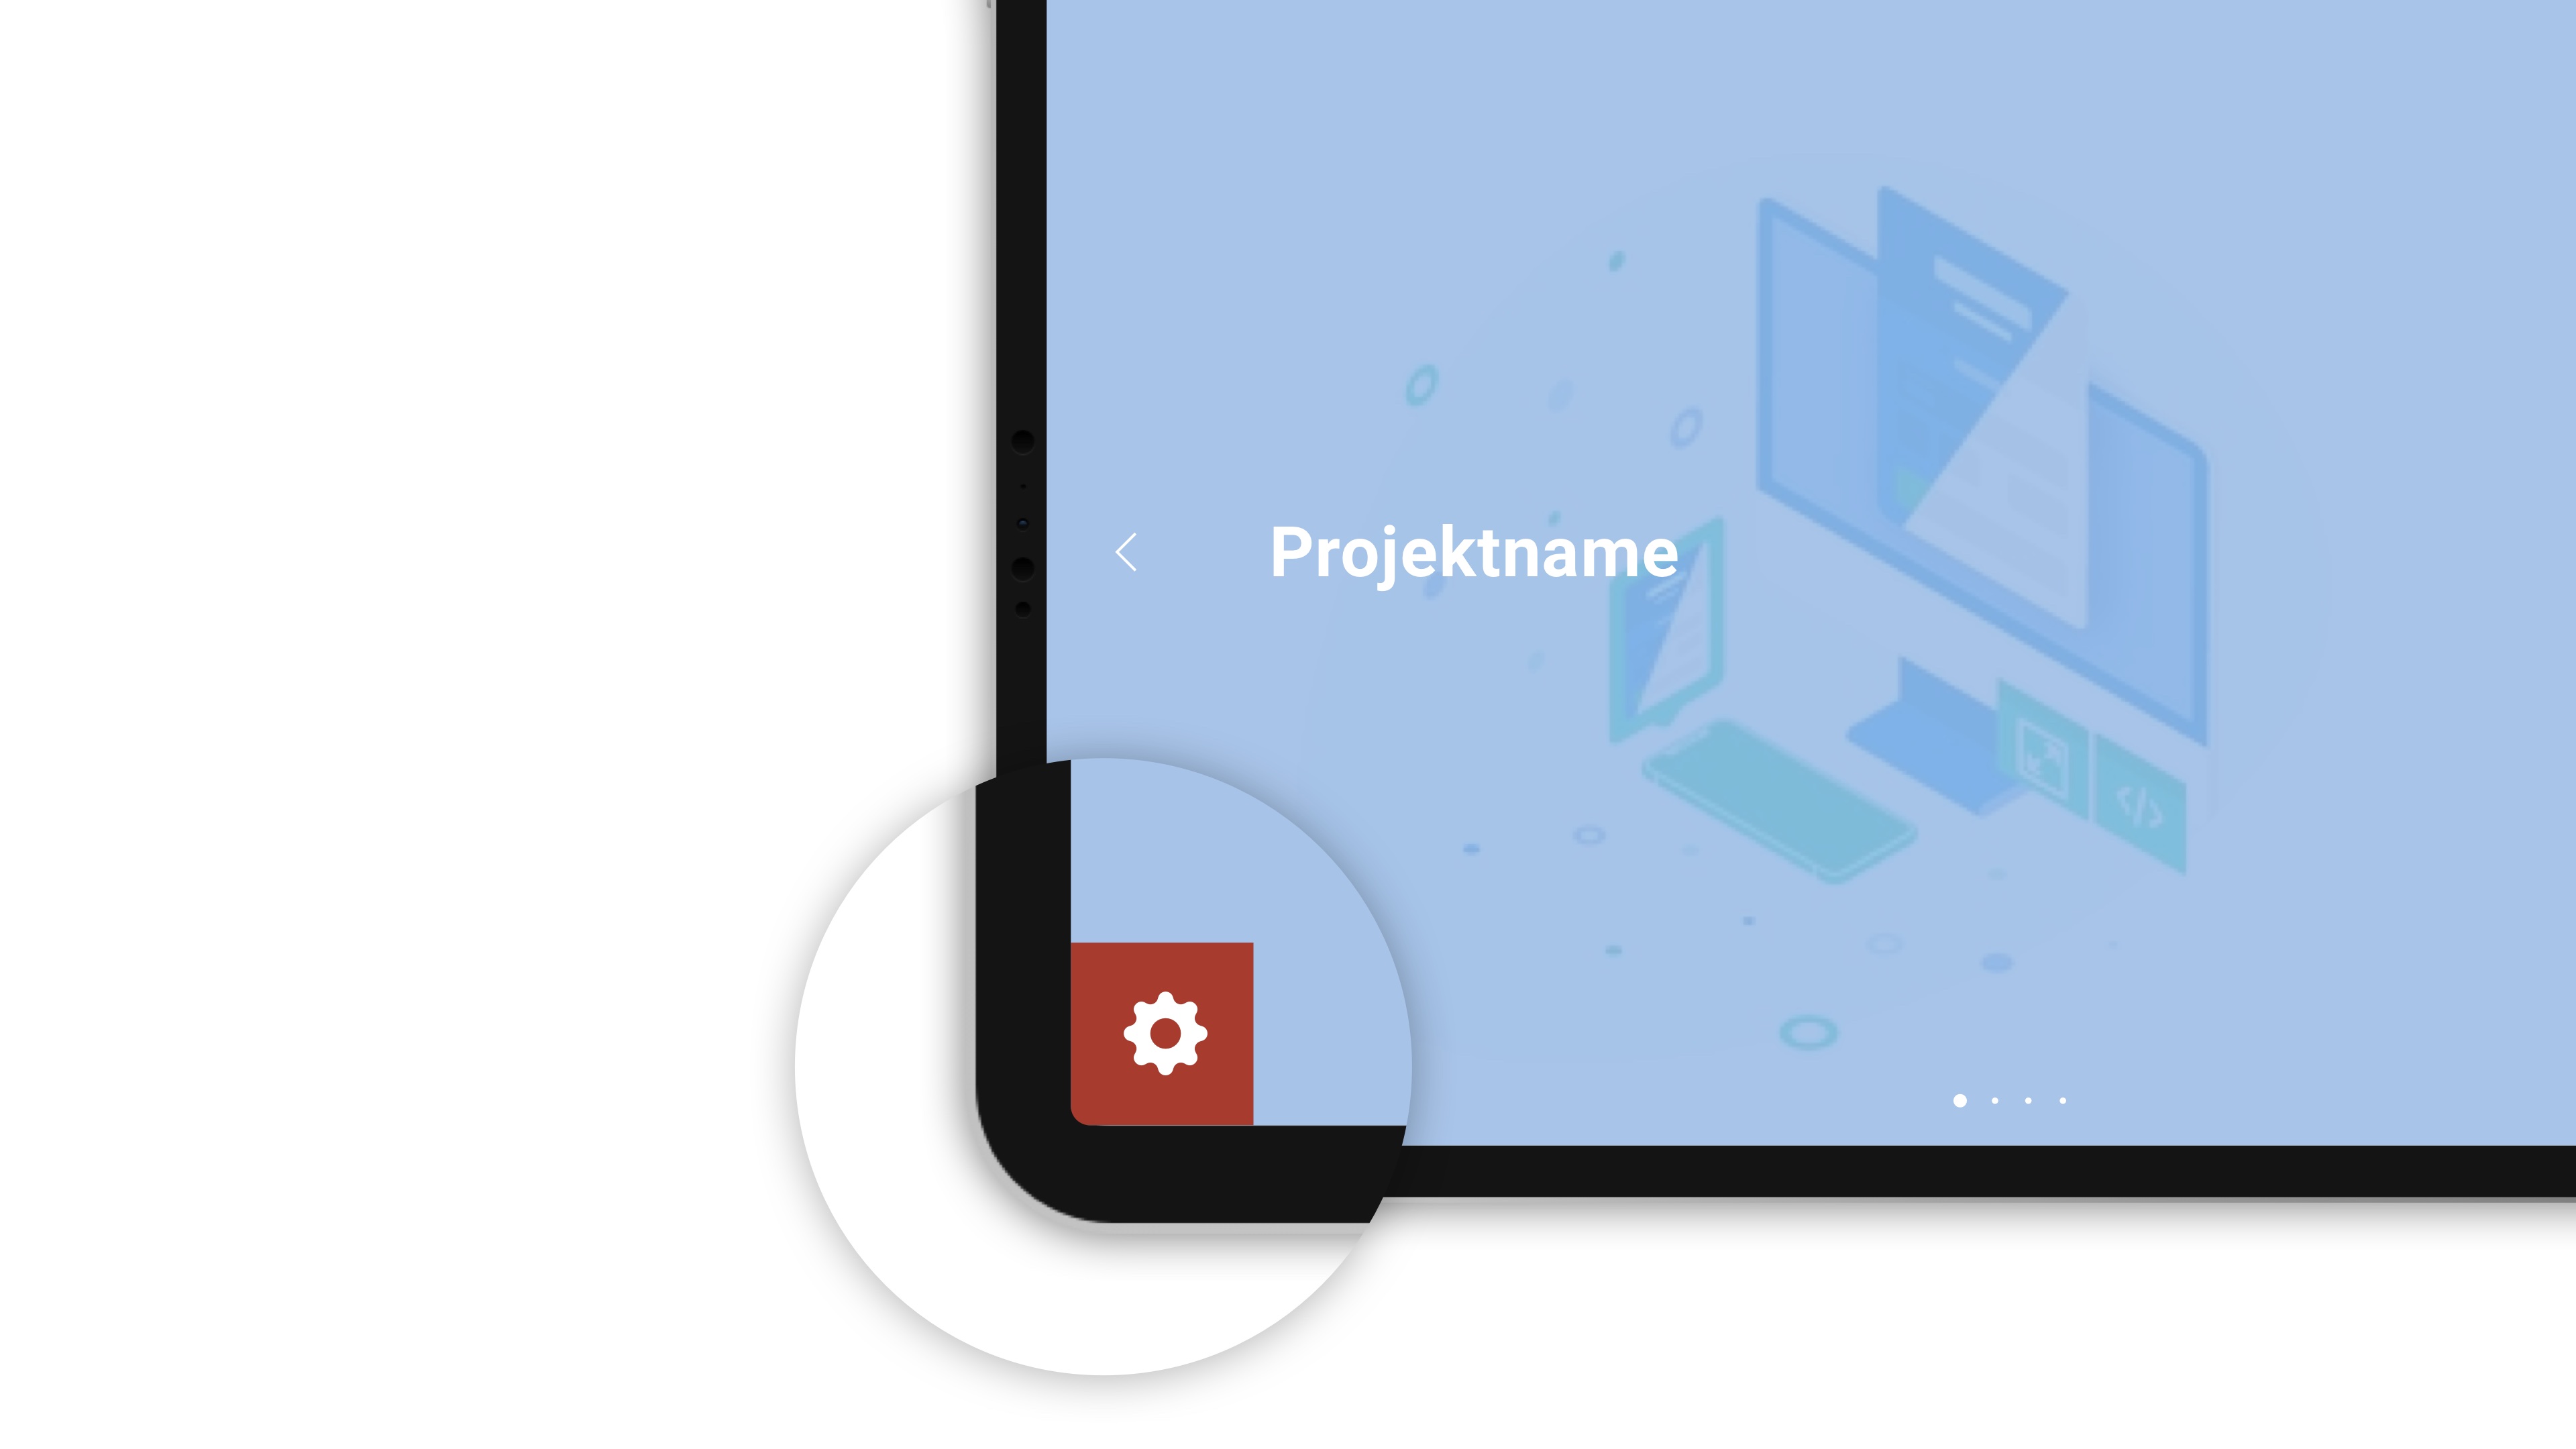
For editing text/image pages you can use the text editor cb-tex. If you are logged in to the website, this button will appear:
 |
 |
It opens the text editor, through which you can insert and design text and images for the respective subpage. The editor offers a wide range of functions for this purpose.
Text formatting - the basics
The text formatting in cb-tex includes the usual character, paragraph and list formatting known from word processing (bold, italic, left/right justified, numbered etc.).
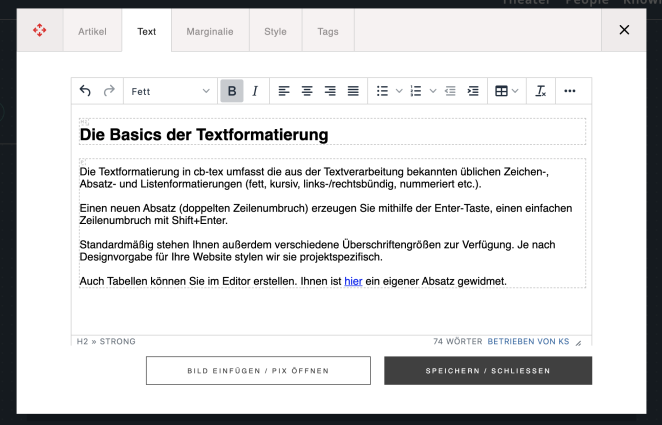 |
You can create a new paragraph (double line break) by pressing the Enter key, and a single line break by pressing Shift+Enter.
By default, you can also choose from a variety of headline sizes. Depending on the design specification for your website, we style them project-specifically.
You can also create tables in the editor. A separate paragraph is dedicated to them here.
Tip: To paste copied text, use the key combination Ctrl+Shift+V instead of Ctrl+V. This way you get "pure", unformatted text without unsightly extraneous formatting. (For Mac users: control + shift + v).
More functions of the editor in detail:
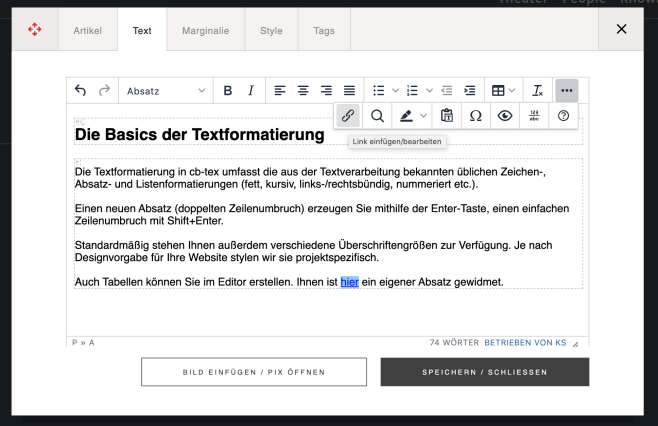
Connecting links and mail addresses
To link a link or a mail address, you can select the word to be linked. Then click on the "Insert/Edit Link" chain icon and enter the associated URL/mail address. The editor automatically recognizes mail addresses and places a "mailto:" in front of the address.
You can also open the link editor by right-clicking on the desired word.
 |
For links, you can also choose whether they should open in the same browser window or in a new one. Especially if you want to link a subpage on your website, it should not open in a new browser window/tab. As URL for all pages from your cb-flex project enter only the term which is behind the language abbreviation (de_DE / en_EN) of the URL, for example cms-cb-flex and not: https://culturebase.org/de_DE/cms-cb-flex.
Upload files and offer them for download
This function is currently not yet available everywhere in CMS 2.0. It is currently in progress and will be available centrally soon.
If you would like to add further information to your texts in the form of files for download, select the "File upload" option in cb-tex via the "Media" button. After clicking on "Add files", select a file from your computer and then upload it via "Upload". In the list you will see the download link you need to use to link in cb-tex. Copy this link and use it afterwards for linking in the text editor.
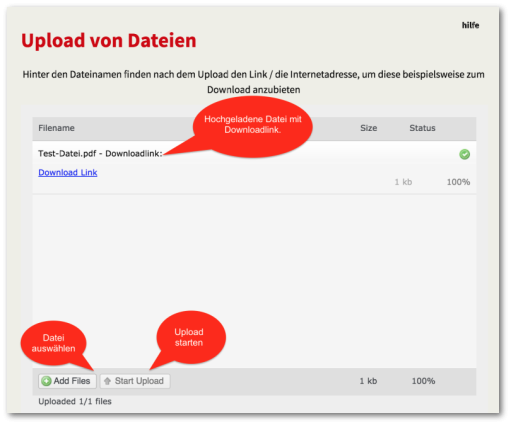
The File Upload
Insert table
To insert a table, click on the table icon in the editor toolbar, go to "Table" and select the desired number of rows and columns. (More columns and rows can be added manually at a later stage).

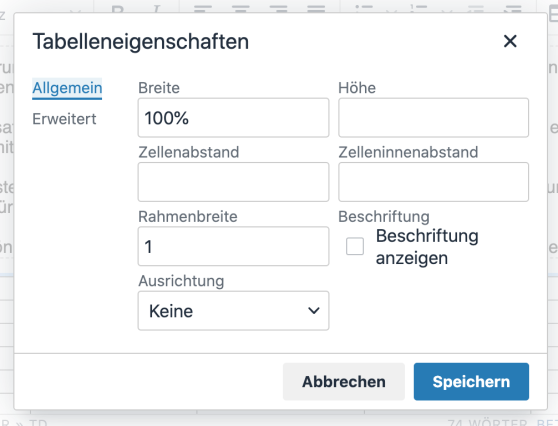
The next step is to set the width of the table. To do this, click on the table button in the toolbar and select "Table properties" from the sub-menu.
To ensure that your table makes optimal use of the available space in all views (e.g. smartphone & tablet), it is important to enter relative values for the table and cell width - for example, if you want the table to occupy the entire width of the content area, enter "100%" for the table width. If you want the table to run across only half of the available width, enter 50% instead, and so on.
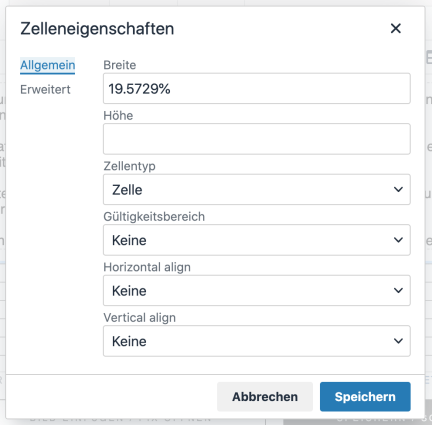
Set cell width
If you want to adjust the ratio of the cells to each other, relative values (%) must be entered here as well. If, for example, there is a date in the left column and a longer text in the right column, a cell ratio of 30% to 70% would be suitable.
To define the width, select all cells of a column in the table that you want to edit and then click on the Table button in the toolbar. Here select Cell from the submenu and then Cell Properties. Enter the desired relative value for Width. The value always refers to the proportion of the total width of the table. For example, if the cell width is 80%, the cells will take up 80% of the table width.
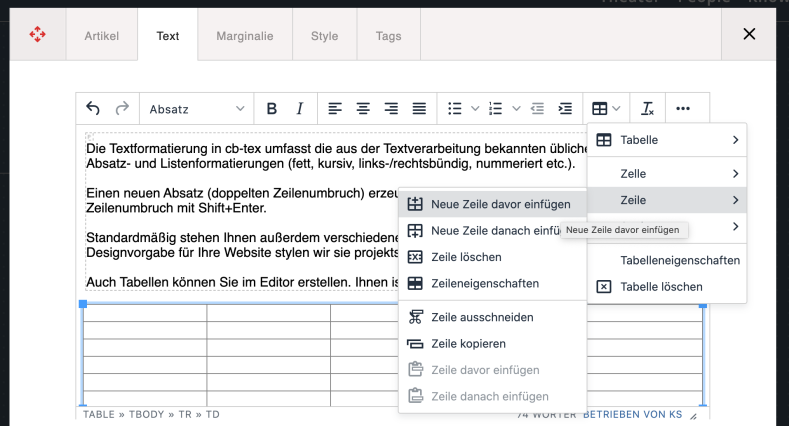
Add more rows / columns
When inserting the table for the first time, you can insert a maximum of 10 columns and rows. If you want to add more, click in the table in the respective column / row behind or before which you want to insert another row / column. Then click on the table button and select "Row" or "Column" from the sub-menu and there "Insert new row / column after / before" to insert a new row / column.
Delete table / row / column
Select the area you would like to delete and then click on the Table button in the toolbar. If you want to delete the whole table, click on "Delete table" in the sub-menu. If you want to delete only one row, go to "Row" and there click on "Delete Row". To delete individual columns, go to "Column" and click on "Delete column" there. Individual cells can only be emptied, not removed.